How to Install
Snow Doffer was designed for simple self-installation so riders can get ready for the mountain quickly and confidently.
The setup process takes approximately five to ten minutes and requires only one basic tool: a pencil.
Every installation includes access to a step-by-step YouTube installation video available through a QR code on the product packaging or website.
Quick Installation Steps
Installing Snow Doffer is designed to feel straightforward for skiers and snowboarders of all experience levels.
1. Review the Installation Video
Scan the QR code included with the product to access the official YouTube installation tutorial before beginning setup.
2. Confirm Proper Placement
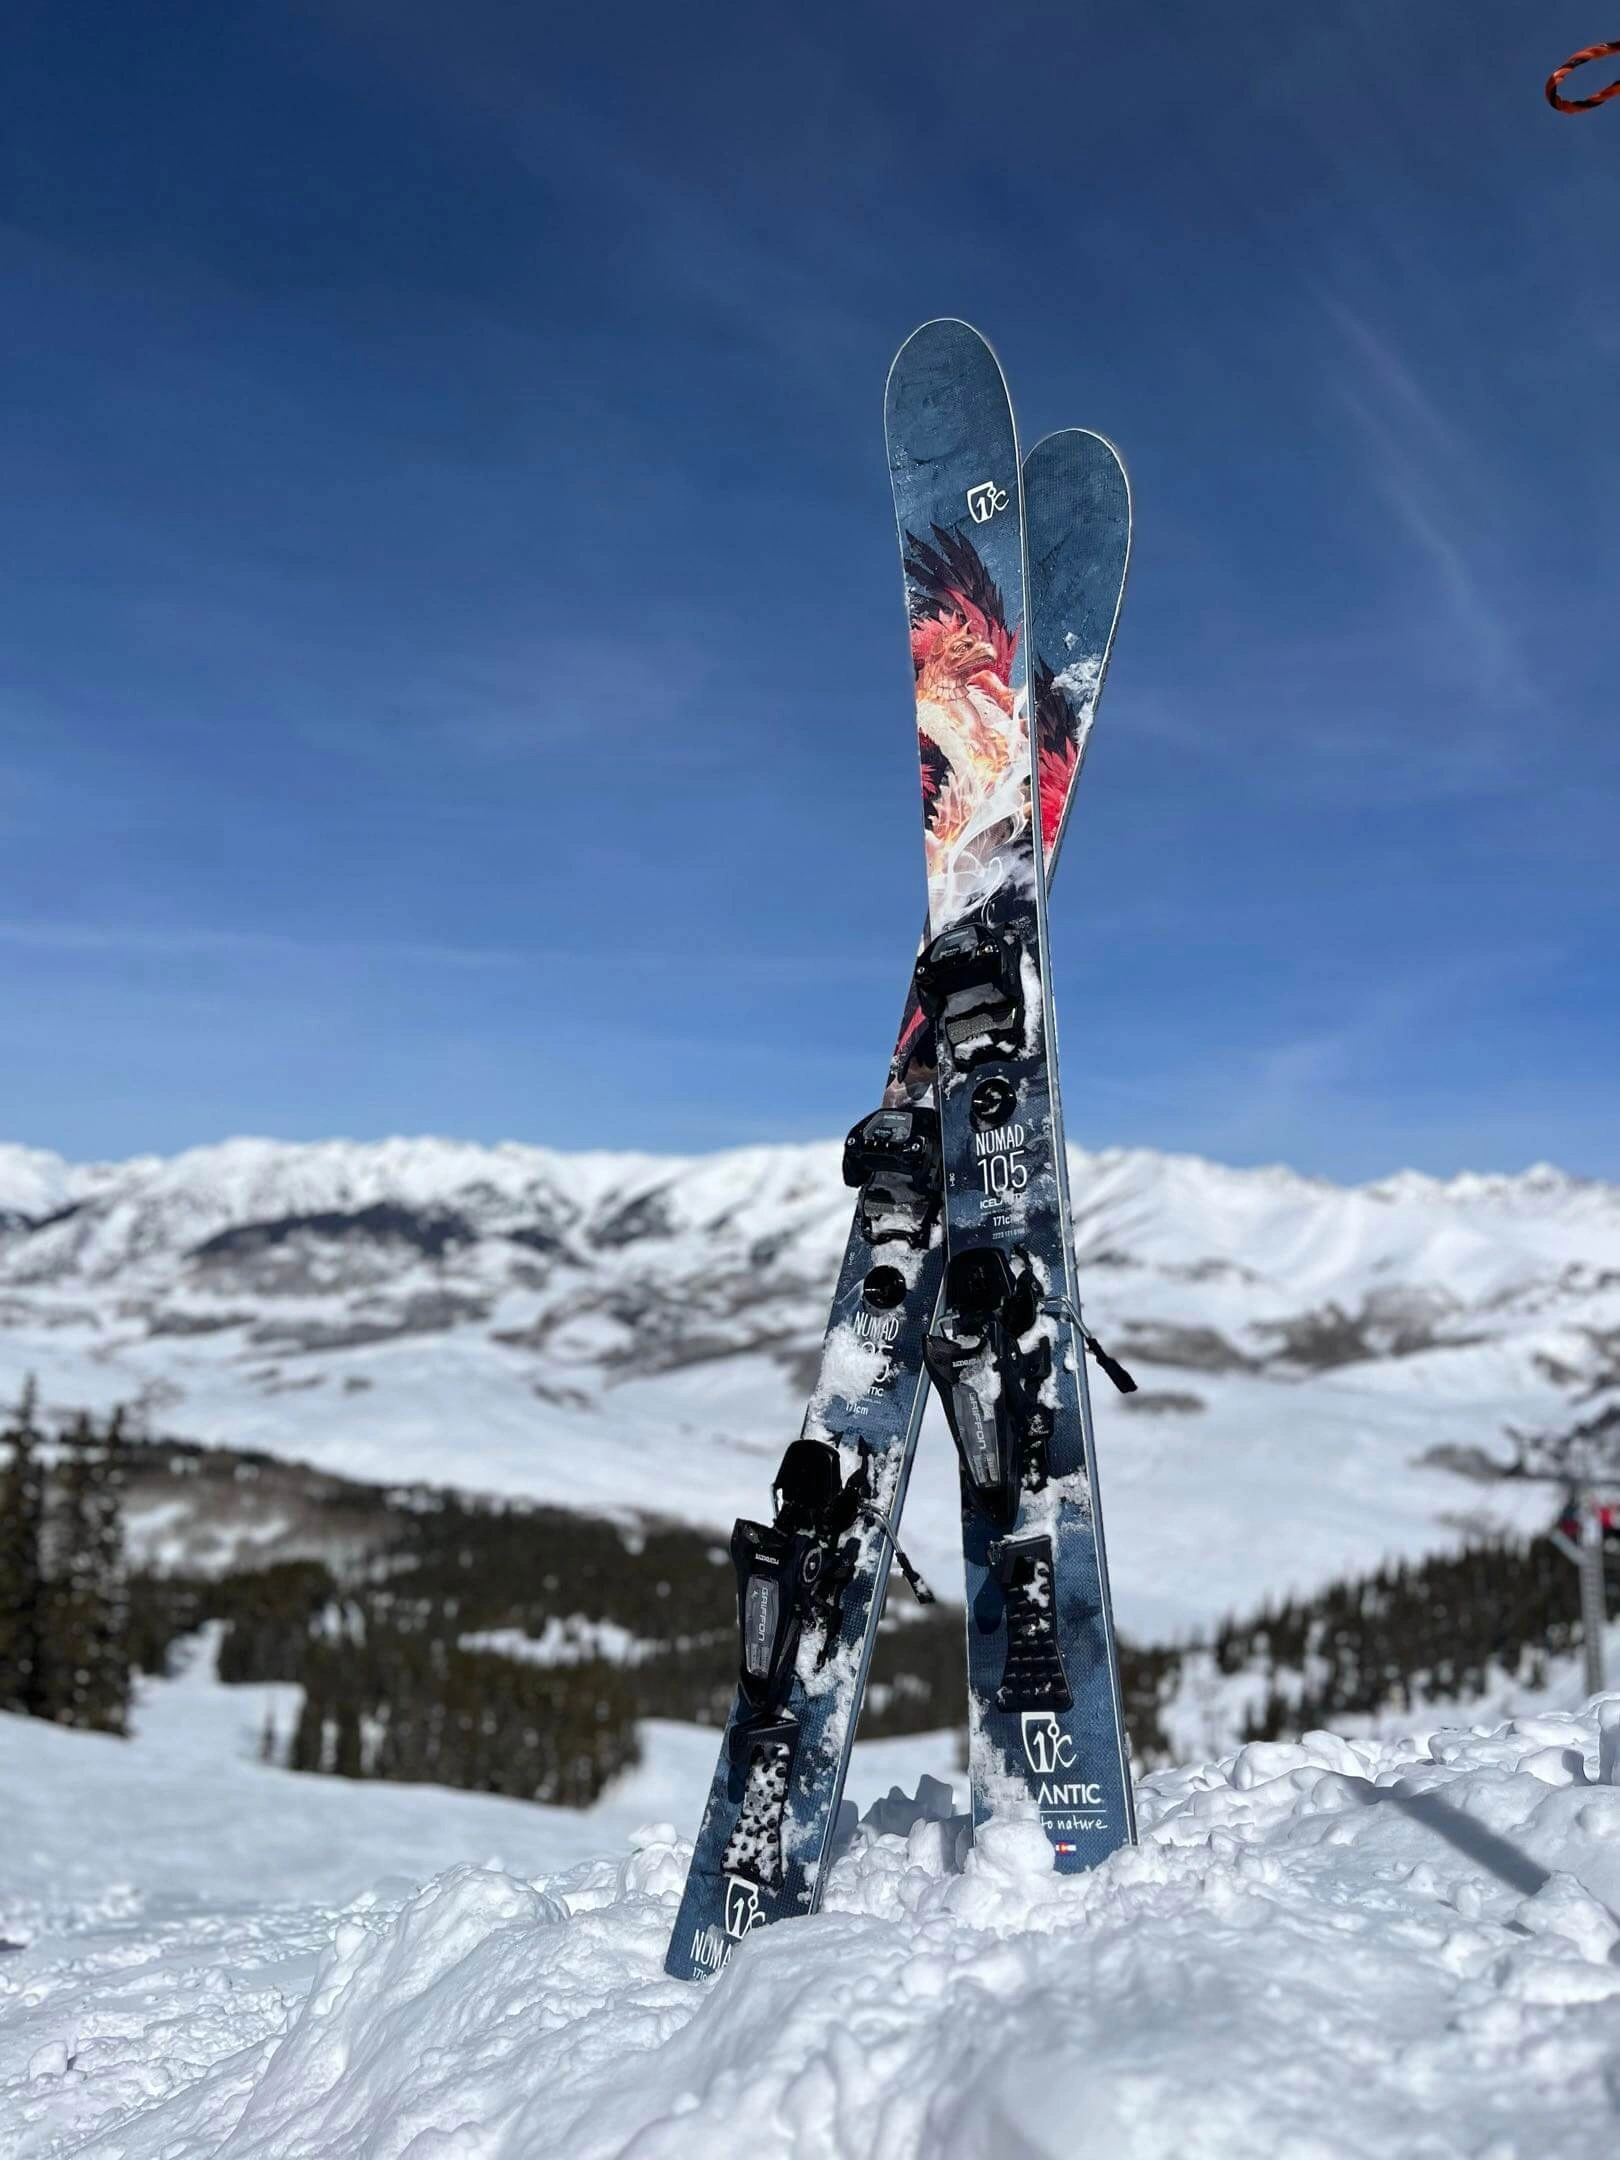
Choose a flat mounting surface on your skis or snowboard. Snow Doffer is not compatible with ridged mounting areas.
3. Mark Placement
Use a pencil to mark the recommended placement area shown in the installation video.
4. Complete Installation
Follow the remaining step-by-step instructions provided in the video to securely install Snow Doffer onto your equipment.
5. Prepare for the Mountain
Once installed, Snow Doffer remains attached and ready to help remove packed snow and ice before engaging the bindings.
Installation Tips
The installation process was carefully developed to reduce common setup frustrations and support the smoothest experience possible.
For best results:
- Install only on flat surfaces
- Avoid ridged mounting areas
- Watch the full installation video before starting
- Double-check placement before securing the product
Compatibility and placement research were completed across multiple ski and snowboard sizes to support comfortable reachability and a clean finished appearance.
Designed for Everyday Convenience
Snow Doffer was built to become a permanent part of the riding experience instead of another accessory to carry or remember before heading outdoors.
After installation, riders can quickly remove packed snow and ice beneath boots using stable one-footed operation supported by the integrated ski pole holder.
Simple Installation, Smoother Runs
See how Snow Doffer helps make mountain preparation faster, easier, and more comfortable before every run. Explore installation tips, discover the product experience, and enjoy smoother preparation before heading outdoors.
Testimonials

“Securing my bindings used to be frustrating after walking through packed snow. This makes the process much quicker and more comfortable before every run.”
“Simple ideas are usually the best ones. It’s easy to use, stays attached, and helps keep snow from slowing down the start of every ride.”
“I like that I can clear snow without awkward balancing or scraping bindings anymore. It feels much more convenient, especially during long mountain days.”
“Really handy on colder days when the snow gets packed underneath your boots. It saves me a little time getting ready for the next run.”
“A simple thing that makes getting ready on the mountain easier. I don’t have to spend as much time messing with snow buildup before heading back out.”
“I like how quick it is to clear the snow from my boots. No more trying to scrape everything off while balancing before getting into my bindings.”
